21个超实用的 CSS 技巧分享
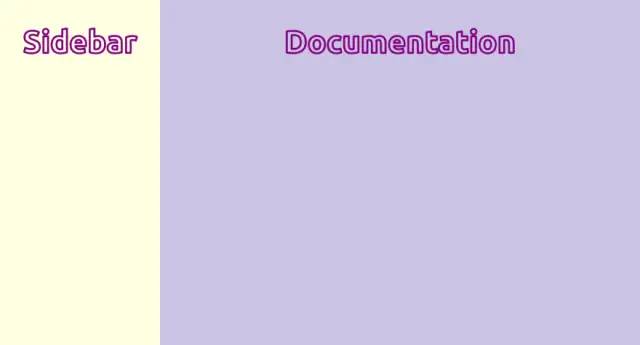
1、文档布局
使用仅两行 CSS 代码,创建一个响应式的文档布局。这个布局风格类似于文档页面,可以很好地展示各种信息。
.parent {
  display: grid;
  grid-template-columns: minmax(150px, 25%) 1fr;
}
2、自定义光标
查看 GitHub 代码库“css tips tricks”,以了解更多相关信息。
html {
  cursor: url("no.png"), auto;
}
3、使用图片填充文本
h1 {
  background-image: url("images/flower.jpg");
  background-clip: text;
  color: transparent;
  background-color: white;
}
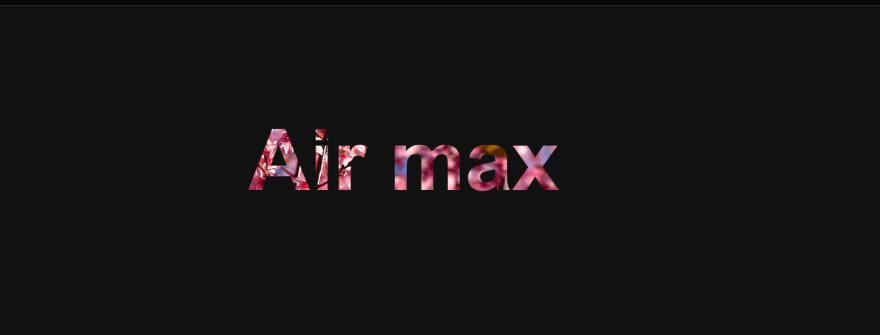
注意:当使用这种技巧时,始终要指定 background-color。这是因为,如果由于某种原因图片无法加载,将使用 background-color 作为后备值。
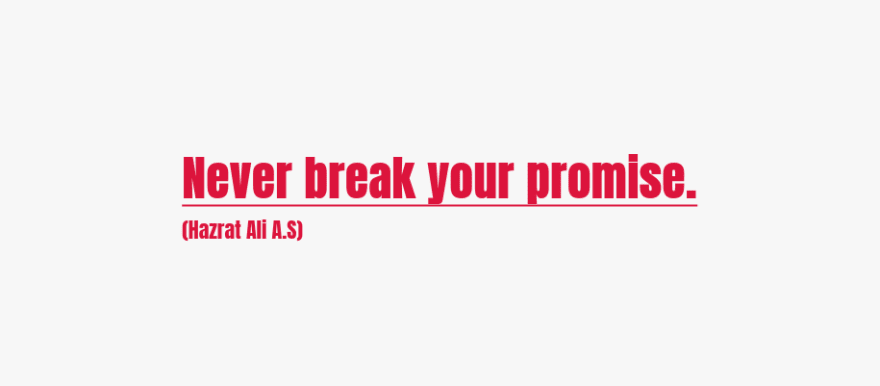
4、给文字添加描边
使用 text-stroke 属性为文字添加描边或轮廓,使文字更易读、更可见。
/*  Apply a 5px wide crimson text stroke to h1 elements */
h1 {
  -webkit-text-stroke: 5px crimson;
  text-stroke: 5px crimson;
}

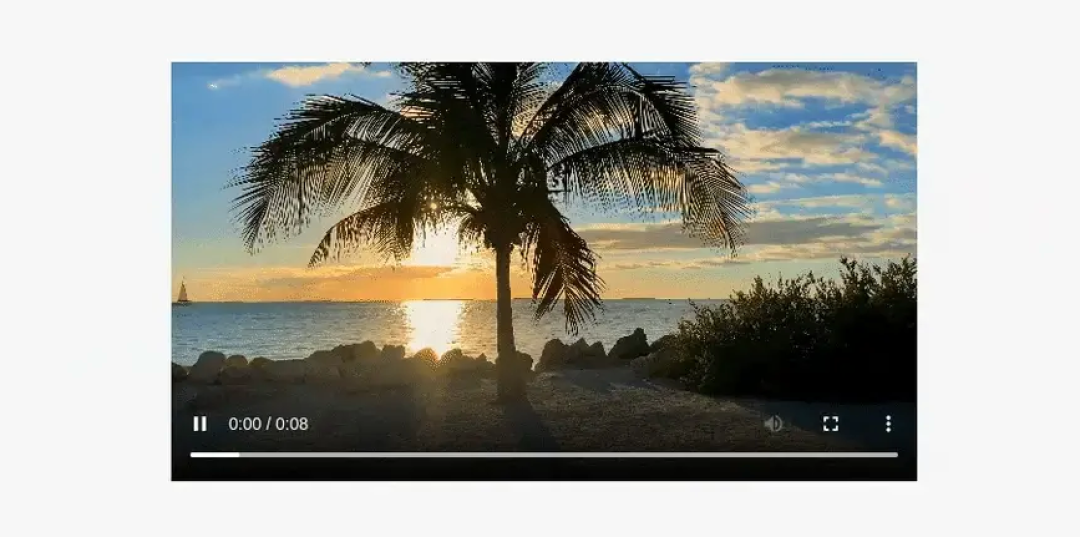
5、:paused 伪类
使用:paused 选择器为媒体元素在暂停状态下设置样式,同样地,我们还有:playing 选择器可以使用。
/*  currently, only supported in Safari */
video:paused {
  opacity: 0.6;
}
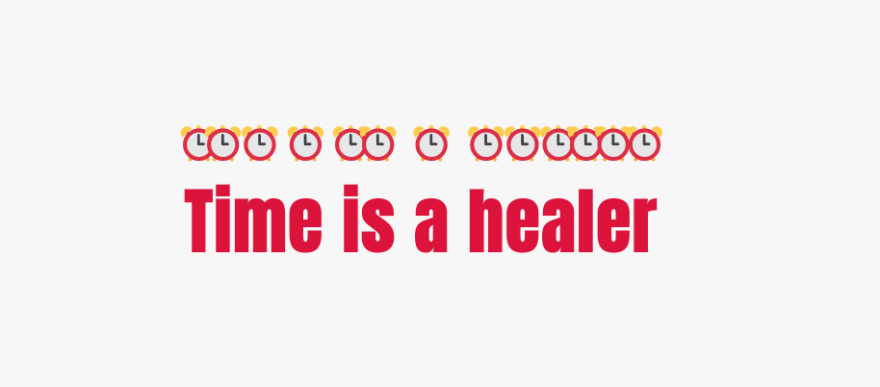
6、强调文字
使用 text-emphasis 属性在文本元素上应用强调标记。您可以指定任何字符串,包括表情符号作为其值。
h1 {
  text-emphasis: "⏰";
}
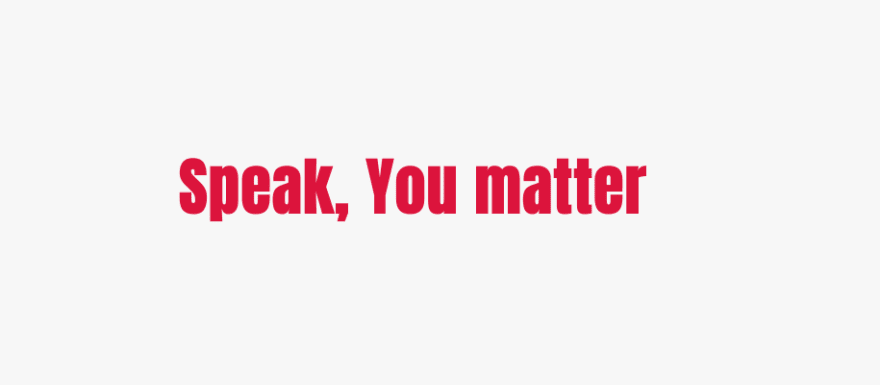
7、首字母下沉
避免使用不必要的span 标签,而是使用伪元素来为内容设置样式。同样地,我们还有 first-letter 伪元素和 first-line 伪元素可以使用。
h1::first-letter {
  font-size: 2rem;
  color: #ff8a00;
}

8. 变量的回退值(Fallback values for Variables 暂且这么翻译)
“变量的回退值”,也就是指在 CSS 变量中设置默认值,当变量无法被解析时,会自动回退到默认值。
/*  crimson color will be applied as var(--black) is not defined */

:root {
  --orange: orange;
  --coral: coral;
}

h1 {
  color: var(--black, crimson);
}
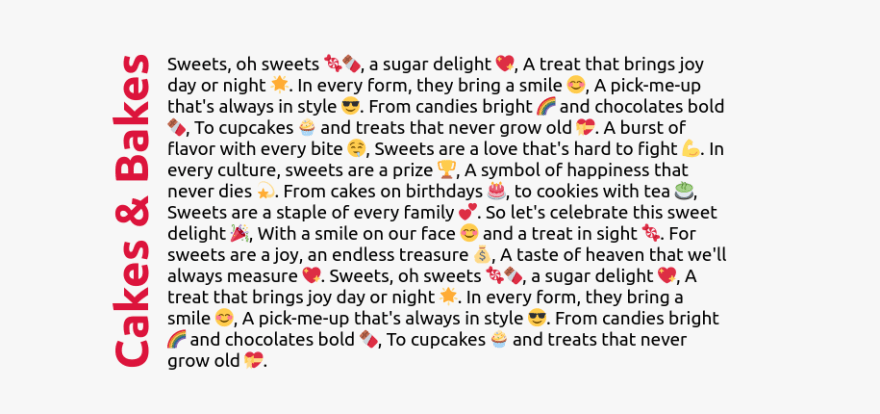
9、改变书写模式
<h1>Cakes & Bakes</h1>
/*  specifies the text layout direction to sideways-lr  */
h1 {
  writing-mode: sideways-lr;
}
10、彩虹动效
为元素创建一个连续循环的颜色动画,以吸引用户的注意力。请阅读 css tips tricks 存储库,了解何时使用 prefer-reduced-motion 媒体功能。
button {
  animation: rainbow-animation 200ms linear infinite;
}

@keyframes rainbow-animation {
  to {
    filter: hue-rotate(0deg);
  }
  from {
    filter: hue-rotate(360deg);
  }
}
11、鼠标悬停时缩放
/*  Define the height and width of the image container & hide overflow */

.img-container {
  height: 250px;
  width: 250px;
  overflow: hidden;
}

/* ️ Make the image inside the container fill the container */

.img-container img {
  height: 100%;
  width: 100%;
  object-fit: cover;
  transition: transform 200m ease-in;
}

img:hover {
  transform: scale(1.2);
}
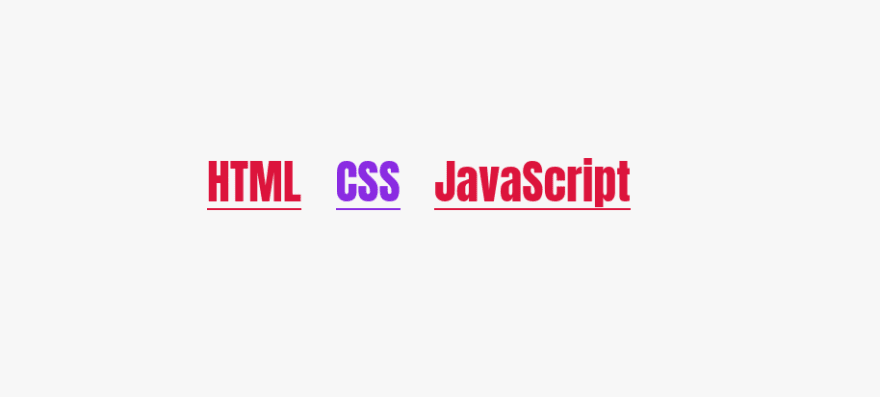
12. 属性选择器
使用属性选择器来选择具有特定属性的 HTML 元素。
<a href="">HTML</a>
<a>CSS</a>
<a href="">JavaScript</a>
/*  targets all a elements that have a href attribute */

a[href] {
  color: crimson;
}
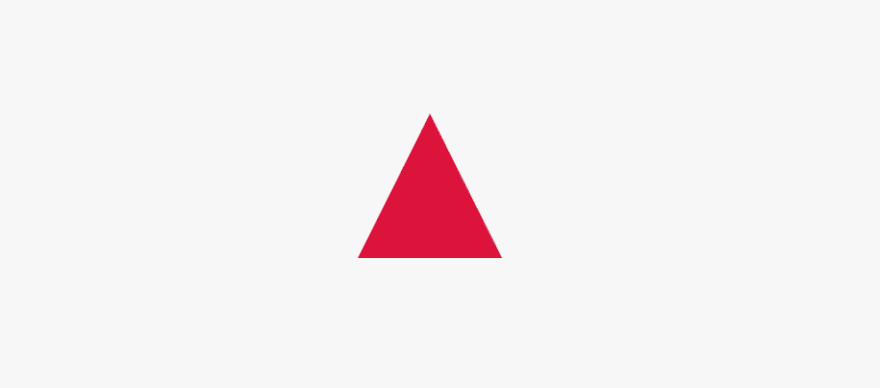
13、剪裁元素
使用 clip-path 属性可以创建有趣的视觉效果,例如将元素裁剪成自定义形状,如三角形或六边形。
div {
  height: 150px;
  width: 150px;
  background-color: crimson;
  clip-path: polygon(50% 0%, 0% 100%, 100% 100%);
}
14、检测属性支持
使用 CSS @support 规则直接在您的 CSS 中检测对 CSS 特性的支持。查看 css tips tricks 存储库以了解有关功能查询的更多信息。
@supports (accent-color: #74992e) {
  /* code that will run if the property is supported */
  blockquote {
    color: crimson;
  }
}
这段代码使用了 CSS @supports 规则来检测浏览器是否支持设置 accent-color 属性为#74992e 的样式,如果支持则应用在 blockquote 元素上,将其文本颜色设置为 crimson。如果不支持,就不会应用这个代码块。
accent-color 属性是一个 CSS 属性,用于设置元素的强调颜色。它允许网站或应用程序使用用户设备的主题颜色,并将其应用于元素的背景、边框、文本等部分。如果未设置 accent-color 属性,元素将使用默认的强调色,通常是蓝色或类似的颜色。
15、CSS 嵌套
CSS 工作组一直在研究如何在 CSS 中添加嵌套功能。使用嵌套,你将能够编写更加直观、有组织、高效的 CSS 代码。
<header class="header">
  <p class="text">Lorem ipsum, dolor</p>
</header>
/*  You can try CSS nesting now in Safari Technology Preview*/

.header {
  background-color: salmon;

  .text {
    font-size: 18px;
  }
}
16、Clamp 函数
使用 clamp() 函数实现响应式排版。
/* Syntax: clamp(minimum, preferred, maximum) */
h1 {
  font-size: clamp(2.25rem, 6vw, 4rem);
}
这段代码的意思是在 h1 元素中应用一个 clamp()函数来设置字体大小。clamp()函数接受 3 个参数:最小值、首选值和最大值。在这里,最小值为 2.25rem,最大值为 4rem,而首选值为视口宽度(vw)的 6%。这样设置会使字体大小在最小值和最大值之间自适应,并根据视口宽度(vw)的大小,将字体大小设置为首选值。如果视口变得更宽或更窄,字体大小也会随之调整。这种技术可用于响应式设计中,以便在不同的设备和屏幕尺寸上获得更加一致和可读的字体大小。
17、可选字段的样式(Styling Optional Fields)
您可以使用 :optional 伪类来设置没有 required 属性的表单字段的样式,例如 input、select 和 textarea。
/* Selects  all optional form fields on the page */

*:optional {
  background-color: green;
}
这段代码意思是选择页面上所有可选的表单字段,即那些没有设置 required 属性的 input、select 和 textarea 元素,并将它们的背景颜色设置为绿色。使用通配符选择器(*)选择所有元素,再使用:optional 伪类选择器选择可选表单字段。
18、字间距属性
使用 word-spacing 属性来指定单词之间的空白长度。
p {
  word-spacing: 1.245rem;
}
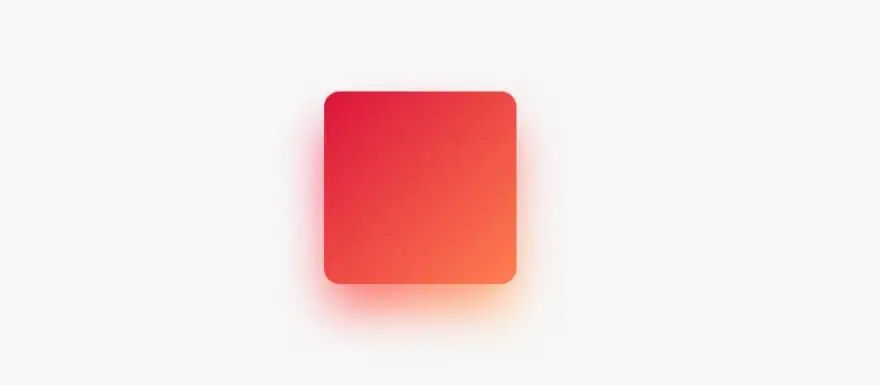
19、 创建渐变阴影
这就是您如何创建渐变阴影以获得独特的用户体验。
:root {
  --gradient: linear-gradient(to bottom right, crimson, coral);
}

div {
  height: 200px;
  width: 200px;
  background-image: var(--gradient);
  border-radius: 1rem;
  position: relative;
}

div::after {
  content: "";
  position: absolute;
  inset: 0;
  background-image: var(--gradient);
  border-radius: inherit;
  filter: blur(25px) brightness(1.5);
  transform: translateY(15%) scale(0.95);
  z-index: -1;
}
20、改变标题的方向(Change Caption Side)
使用 caption-side 属性将表格标题放置在表格的指定侧边,以更改标题的位置。
table {
  caption-side: bottom;
}
21. 创建文本列(Text Columns)
使用列属性为文本元素制作漂亮的列布局。
/* ️ divide the content of the "p" element into 3 columns  */

p {
  column-count: 3;
  column-gap: 4.45rem;
  column-rule: 2px dotted crimson;
}